TV Mounting Tips for Apartments and Renters: A Comprehensive Guide
Mounting a television can transform your living space by providing a sleek, modern look while freeing up valuable floor space. For apartment dwellers and renters, however, there are specific considerations to keep in mind to avoid damage and ensure compliance with lease agreements. This guide provides essential tips for mounting your TV in a rental apartment, addressing the unique challenges renters face in the United States.
Key Highlights
- Review your lease agreement and obtain landlord approval before mounting a TV to avoid violating rental terms and causing potential disputes.
- Choose the appropriate TV mount based on your viewing needs and wall type, ensuring proper weight support and VESA compatibility.”
- Consider temporary mounting solutions or professional installation if your lease restricts permanent modifications, and always prepare for move-out by repairing any wall damage.
1. Understanding Lease Agreements and Restrictions
Before starting your TV mounting project, it’s crucial to review your lease agreement to ensure you comply with any restrictions or requirements:
- Check Your Lease: Review the lease document carefully for any clauses related to modifications or alterations. Look specifically for sections that address wall mounts, drilling, or permanent fixtures.
- Contact Your Landlord: If your lease is ambiguous or you’re unsure about any terms, reach out to your landlord or property manager. Provide details of your plans and request written permission to avoid future disputes.
- Document Everything: Keep a record of all communications with your landlord regarding mounting approval. This documentation can be useful if there are any disagreements later on.
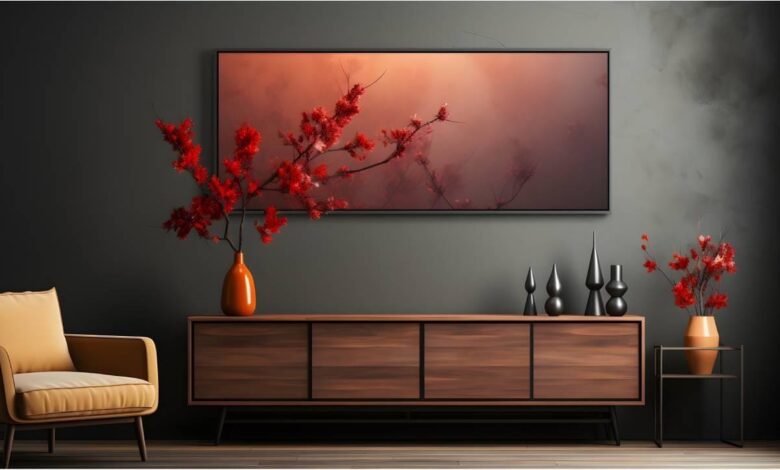
2. Choosing the Right TV Mount
Selecting the correct TV mount is critical for a successful and secure installation. Here’s a breakdown of different types of mounts and their features:
- Fixed Mounts: Ideal for a clean, low-profile look. These mounts keep the TV flush against the wall and are suitable for rooms where you don’t need to adjust the viewing angle.
- Tilting Mounts: Allow you to tilt the TV downward for improved viewing angles, especially useful if the TV is mounted high on the wall.
- Full-Motion Mounts: Also known as articulating mounts, these provide the most flexibility by allowing the TV to swivel, tilt, and extend away from the wall. They are perfect for rooms where you need to adjust the viewing angle frequently.
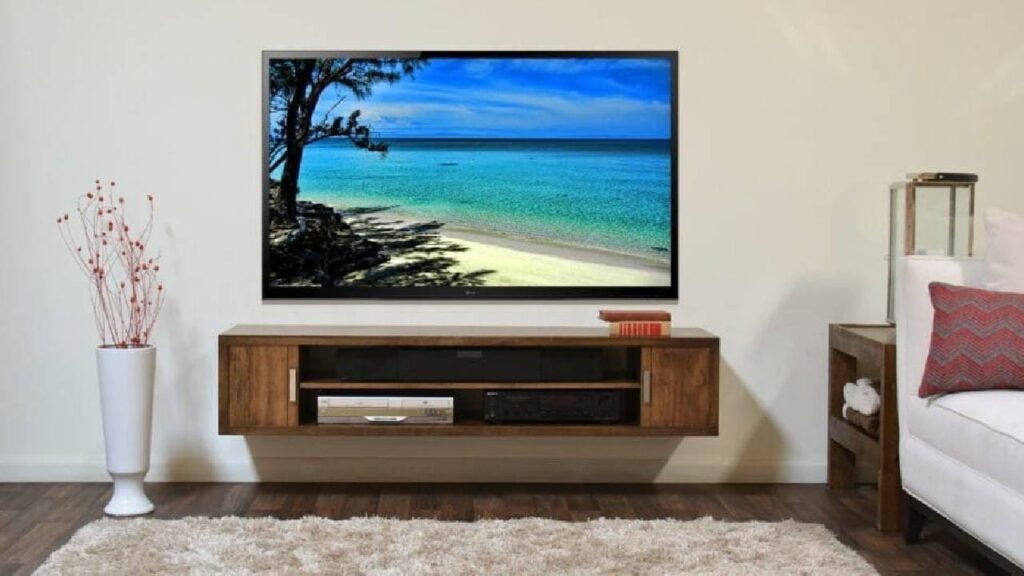
Image Credit Goes to The H-Town handyman
Additional Considerations:
- Weight Capacity: Ensure the mount you choose can support the weight of your TV. Check the mount’s specifications and compare them with your TV’s weight.
- VESA Compatibility: Verify that the mount is compatible with the VESA pattern (the distance between the mounting holes) on the back of your TV.
If you’re unsure about selecting the right mount or the installation process, professional TV mounting services can offer expert guidance. These services ensure you choose the appropriate mount for your needs and handle the installation with precision.
3. Wall Types and Anchoring
The type of wall you are mounting on significantly affects the installation process. Here’s how to handle different wall types:
- Drywall: Most common in apartments, drywall is supported by wooden or metal studs. Use a stud finder to locate the studs, as mounting directly into them provides the most secure hold. Avoid mounting solely into drywall without studs, as this can lead to instability.
- Concrete or Brick Walls: Requires masonry anchors or screws. Use a hammer drill with a masonry bit to create holes for the anchors. Be aware that this process can be noisy and may create dust.
- Plaster Walls: Often found in older buildings, plaster can be more brittle. Locate the studs behind the plaster using a stud finder, and use appropriate anchors to avoid cracking the plaster.
Tip: If you’re unsure about your wall type or mounting process, consult a professional for advice.
4. Tools and Equipment Needed
Proper tools are essential for a successful installation. Here’s a comprehensive list:
- Stud Finder: To accurately locate the studs behind the drywall.
- Drill and Drill Bits: Choose the right drill bits for your wall type (masonry bits for brick/concrete, standard bits for drywall).
- Screwdriver and Socket Wrench: For tightening screws and bolts.
- Level: To ensure your mount is installed straight.
- Tape Measure: For precise measurements.
- Pencil: For marking drilling points on the wall.
- Safety Gear: Such as goggles and gloves, especially when working with masonry or plaster.
5. Professional Installation Services
For a hassle-free TV mounting experience, consider hiring a tv mounting service or professional handyman:
- Assess Your Space: Professionals can evaluate your wall type and provide tailored recommendations based on your apartment’s layout, ensuring you choose the right mount for your needs.
- Ensure Safety: They ensure the TV mount is securely installed and compliant with all safety standards, giving you peace of mind.
- Handle Complications: Professional handyman services are skilled at managing complex installations, including dealing with unusual wall structures and integrating advanced cable management systems.
By opting for a professional handyman, you can ensure a seamless installation process with minimal stress and maximum efficiency.
6. Installation Steps
Follow these detailed steps to ensure a smooth installation:
Marking the Location
- Find the Right Height: Use a measuring tape to determine the optimal height for your TV. Ideally, the center of the screen should be at eye level when seated.
- Mark the Wall: Use a pencil to mark the desired height and the locations for the mount’s screws or anchors. Ensure these marks are level to avoid a crooked TV.
Installing the Mount
- Drill Holes: For drywall, drill pilot holes into the marked stud locations. For concrete or brick, use a hammer drill to create holes for masonry anchors.
- Attach the Mount: Secure the TV mount to the wall using screws or anchors. Double-check that the mount is level before tightening all the screws.
- Attach Brackets to TV: Follow the manufacturer’s instructions to attach the mounting brackets to the back of your TV. Ensure they are securely fastened.
Mounting the TV
- Lift and Hook: With the help of a second person, carefully lift the TV and hook the mounting brackets onto the wall mount.
- Secure the TV: Tighten all bolts and screws according to the manufacturer’s instructions to ensure the TV is securely mounted.
7. Cable Management
Effective cable management not only improves aesthetics but also reduces the risk of accidents:
- Cable Hiders: Use cable raceways or hiders to conceal cables along the wall. These can be painted to match the wall color for a seamless look.
- Cable Clips: Attach clips to the wall or furniture to keep cables neatly organized and out of sight.
- Power Outlet: Ensure that the TV’s power outlet is easily accessible and that the cables are safely managed to avoid tripping hazards. Use a surge protector to safeguard against electrical issues.
8. Temporary Mounting Solutions
If your lease prohibits permanent modifications, consider these alternatives:
- No-Drill Mounts: Adhesive mounts or no-drill wall mounts are available for lightweight TVs. They provide a way to mount your TV without causing permanent damage, but their weight capacity is limited.
- Freestanding TV Stands: These stands do not require wall mounting and can be placed against a wall. Many come with built-in cable management features and adjustable heights.
9. Preparing for Move-Out
When preparing to move out, ensure you leave the apartment in good condition:
- Remove the Mount Carefully: Unscrew the TV mount and remove any hardware. Patch up any holes or damage left in the wall.
- Fill Holes: Use a wall repair kit to fill in holes. Sand and paint over the patches to match the original wall color.
- Clean Up: Ensure all mounting equipment and debris are cleaned up to leave the space as you found it.
Final Thoughts
Mounting a TV in an apartment requires careful planning and consideration of your lease terms, wall type, and the type of mount you choose. By following the tips outlined in this guide, you can achieve a professional-looking installation that enhances your living space while keeping your rental property in good condition. Whether you opt for a DIY approach or hire a professional, adhering to these guidelines will help you enjoy your mounted TV while maintaining compliance with your lease agreement.
With the right preparation and tools, mounting your TV can be a straightforward and rewarding process that enhances your home entertainment experience. Happy mounting!
Also Read: Video Piracy Prevention for Live Streaming Platforms